
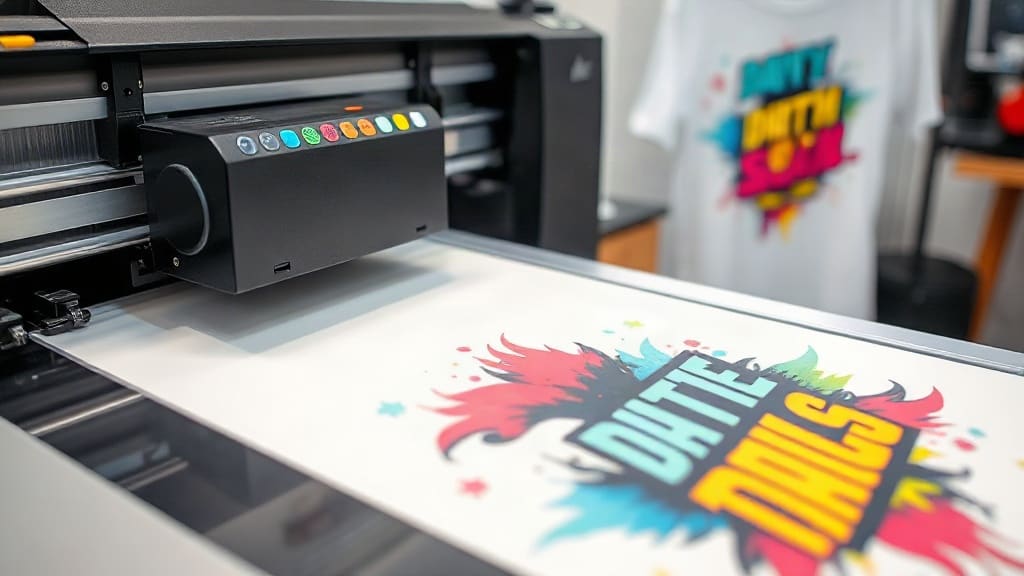
If you are looking for a versatile and cost-effective way to create custom apparel, dtf transfers might be exactly what you need. This printing method has taken the industry by storm, offering stunning results on a wide range of fabrics. Whether you are a hobbyist or a business owner, understanding how this technology works can open up endless possibilities. In this guide, I will walk you through everything from the basics to advanced tips, so you can make informed decisions and achieve professional-looking results.
What Are DTF Transfers?
DTF stands for Direct to Film. Unlike traditional heat transfer vinyl, DTF printing involves printing your design onto a special PET film using a printer equipped with white ink. After printing, an adhesive powder is applied to the wet ink, and the film is cured. The final step is heat pressing the film onto your garment, which transfers the design seamlessly.
This process has gained popularity because it eliminates the need for weeding and allows for highly detailed, full-color designs. Plus, it works on a variety of fabrics, including cotton, polyester, and blends.
Why Choose DTF Transfers Over Other Methods?
When you compare dtf transfers to screen printing or vinyl, several advantages stand out.
No Weeding Required
With vinyl, each color layer must be cut and weeded separately, which is time-consuming. DTF eliminates this step entirely. The printer handles the design, and you just apply the powder and press.
Vibrant Colors Even on Dark Fabrics
The white ink layer acts as a base, making colors pop on black or dark shirts without needing a separate white underbase. This saves time and reduces complexity.
Soft Hand Feel
DTF prints have a soft, flexible texture that feels similar to screen printing. They don't crack or peel easily, even after multiple washes.
Cost-Effective for Small Runs
Unlike screen printing, which requires setup for each color, DTF is perfect for small orders. You can print one shirt or hundreds without extra setup costs.
Essential Equipment for DTF Printing
To start with dtf transfers, you need the right tools. Here is a list of what you will need:
- A DTF printer (modified Epson or specialized industrial printer)
- PET film (clear or matte)
- DTF adhesive powder
- Heat press or oven for curing
- A heat press for final application
- ICC profiles and RIP software for color management
Investing in quality equipment is crucial. While you can modify a standard inkjet printer, many find it easier to purchase a dedicated DTF printer that comes with continuous ink systems and proper settings.
Step-by-Step Guide to Making DTF Transfers
Here is a practical walkthrough of the process. I have tested this method extensively, and these steps yield consistent results.
Step 1: Create and Prepare Your Design
Use design software like Photoshop or Illustrator. Ensure your design is high resolution (300 DPI) and includes any necessary color corrections. Mirror your design horizontally because it will be transferred.
Step 2: Print on PET Film
Load the PET film into your printer with the printable side facing up. Print your design using the DTF profile, which lays down a white layer first, then the colors. Make sure the ink is completely dry before moving to the next step.
Step 3: Apply Adhesive Powder
While the ink is still wet (or re-moistened if dried), shake the adhesive powder evenly over the printed area. The powder sticks to the ink. Remove excess powder by gently tapping or using a brush.
Step 4: Cure the Powder
Place the film in a curing oven or use a heat press at around 160°C (320°F) for 30 seconds. The powder melts and becomes a sticky adhesive layer. Let it cool completely.
Step 5: Press onto Garment
Pre-press your garment to remove moisture. Place the film on the shirt with the powder side facing down. Heat press at 160°C for 15-20 seconds with medium pressure. Peel the film while it is still warm or cold, depending on the powder type.
Pro Tips for Flawless Results
Over the years, I have learned a few tricks that make a huge difference.
- Always use a Teflon sheet to protect the film and garment during pressing.
- Test on a scrap fabric first to fine-tune your temperature and time settings.
- Keep your printer clean and perform regular nozzle checks to avoid banding.
- Shake the adhesive powder well before each use to ensure even distribution.
- Store your PET film in a cool, dry place to prevent curling.
Common Mistakes to Avoid
Many beginners face issues that are easily preventable. Here are some pitfalls to watch out for.
Using the Wrong Film
Not all PET films are the same. Some are designed for specific printers or have a coating that affects ink adhesion. Stick to reputable brands.
Insufficient Curing
If the powder is not fully cured, the transfer will not stick properly. Ensure your oven reaches the correct temperature and give it enough time.
Peeling Too Early or Too Late
Some films require hot peeling, others cold. Check the instructions from your film and powder supplier. Getting this wrong can ruin the transfer.
Cost Analysis and Pricing
DIY dtf transfers are economical. A typical setup costs between $500 and $2,000, depending on the printer and accessories. Consumables like film and powder add up to around $0.50 per transfer for a standard 10x10 cm design. When you compare that to the cost of buying pre-made transfers or outsourcing, the savings are significant, especially for small batches.
DTF vs. Sublimation and Vinyl
Understanding the differences helps you choose the right method for your project.
Sublimation
Sublimation works only on polyester fabrics and requires white or light-colored garments. DTF works on cotton and dark colors, making it more versatile.
Vinyl
Vinyl is great for simple designs with few colors. However, it lacks the detail and color range of DTF. Also, vinyl often has a thicker feel and can crack over time.
Frequently Asked Questions
Do DTF transfers work on all fabrics?
DTF transfers adhere well to cotton, polyester, and blends. For best results, use garments with at least 60% cotton. On 100% polyester, the adhesive may not bond as strongly, so test first.
Can I use a regular inkjet printer for DTF?
You need a printer that can print white ink, which requires a specialized printer or modification. Regular inkjet printers cannot print white. It is safer to invest in a DTF printer.
How long do DTF prints last?
With proper application and care, DTF prints can last over 50 washes without fading or cracking. The key is to use quality materials and follow the correct pressing parameters.
Can I make DTF transfers at home?
Yes, many hobbyists set up DTF printing at home. You need space for a printer, curing station, and heat press. It is a learning curve but entirely doable.
How do I clean my DTF printer?
Regularly run nozzle checks and perform cleaning cycles. Use the maintenance solution recommended by your printer manufacturer to prevent ink clogs.
Conclusion
DTF printing is a game-changer for custom apparel. It offers flexibility, durability, and stunning results. Whether you are starting a side hustle or upgrading your print shop, mastering dtf transfers will give you a competitive edge. Remember to practice, invest in quality materials, and always test before full production. Happy printing!