
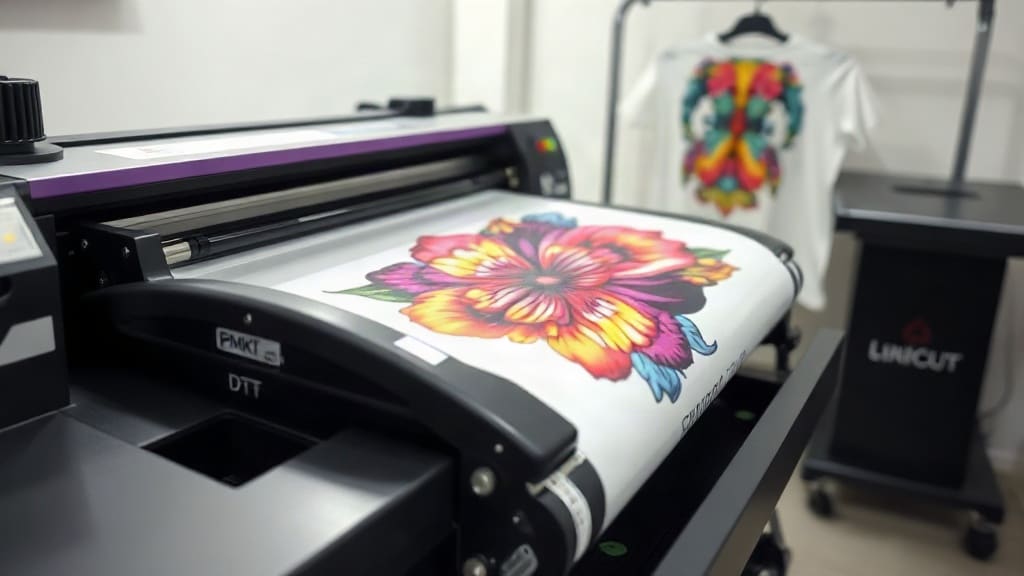
DTF transfers have revolutionized the custom printing industry, offering a versatile and efficient method for creating vibrant designs on various fabrics. Whether you're a small business owner, a hobbyist, or someone curious about the latest printing technology, this guide will walk you through everything you need to know about this innovative approach. From how it works to practical tips for achieving professional results, you'll find all the essential information right here.
What Are DTF Transfers?
DTF stands for Direct to Film, a printing technique where designs are printed onto a special PET film and then transferred onto fabric using a heat press. Unlike traditional methods that print directly onto the garment, DTF allows you to print on film first, giving you more flexibility and reducing waste. This process is particularly popular for custom apparel, promotional items, and small batches because it delivers high-quality results with minimal setup.
How Does the DTF Process Work?
The process begins by printing your design onto a transparent film using a specialized printer and CMYK inks. A white ink layer is then applied to ensure that the colors stand out, especially on dark fabrics. After printing, an adhesive powder is sprinkled over the wet ink, and the film is heated to melt the adhesive. Once cured, the transfer is cut to size and pressed onto the garment using a heat press. The film is peeled away, leaving a soft, durable print that feels like part of the fabric.
Advantages of DTF Transfers Over Other Methods
When compared to screen printing, heat transfer vinyl, or direct-to-garment printing, DTF transfers offer several distinct benefits that make them a favorite among printers and designers.
- Versatility: DTF works on a wide range of fabrics, including cotton, polyester, blends, and even leather.
- Vibrant Colors: Because of the white underbase, colors remain true and bright on dark materials.
- Durability: The prints withstand multiple washes without cracking or fading, making them ideal for everyday wear.
- Ease of Use: No need for complex screens or weeding; just print, powder, press, and peel.
- Cost-Effective for Small Runs: You can print single items or small batches without incurring high setup costs.
Essential Supplies for DTF Printing
To get started with DTF transfers, you'll need specific equipment and materials. While the initial investment can be significant, the quality and versatility justify the cost for many businesses.
Equipment You'll Need
- A DTF printer: Often converted from an Epson or similar model, capable of printing with white ink.
- A heat press: For both curing the adhesive and applying the transfer to the fabric.
- A powder shaker and curing oven: These ensure the adhesive is evenly applied and properly fused.
Materials to Have on Hand
- PET film: This is the base onto which you print; it comes in rolls or sheets.
- Adhesive powder: Available in different mesh sizes; fine powder is best for detailed designs.
- Quality inks: Pigment-based inks are essential for durability and color retention.
Step-by-Step Guide to Making Your First DTF Transfer
If you're eager to try DTF transfers at home or in your workshop, follow these steps for a successful first attempt.
Step 1: Prepare Your Design
Use design software like Adobe Illustrator or free alternatives like Inkscape to create your artwork. Ensure it's in high resolution, and remember to mirror the design if it includes text, as it will be flipped during transfer. Save it as a PNG with a transparent background for the best results.
Step 2: Print the Design on Film
Load the PET film into your printer, making sure the correct side faces up. Print the design using the CMYK mode, and then apply a layer of white ink to the areas that require it. Most DTF printers handle this automatically, but you may need to adjust the settings for optimal coverage.
Step 3: Apply Adhesive Powder
While the ink is still wet, shake the adhesive powder generously over the printed area. Make sure it covers every bit of the design. Then, remove the excess powder gently, saving it for reuse.
Step 4: Cure the Adhesive
Place the film in a curing oven or use a heat press with Teflon paper to melt the powder. The temperature should be around 160°C (320°F) for about 30 seconds. This bonds the adhesive to the ink, creating a strong transfer.
Step 5: Press the Transfer onto Fabric
Pre-press your garment to remove wrinkles and moisture. Position the transfer on the fabric, cover it with parchment or Teflon paper, and press with medium pressure for about 15-20 seconds at 160°C. Let it cool slightly, then peel the film away.
Tips for Achieving Professional Results
To get the most out of your DTF transfers, keep these expert tips in mind.
Choose the Right Fabric
While DTF works on most fabrics, you'll get the best results on cotton and cotton blends. Avoid low-quality fabrics that may not withstand the heat press or washing.
Optimize Your Print Settings
Adjust the ink density and print speed to match your specific film and powder. A test print on a scrap fabric can help you fine-tune the settings before committing to your final product.
Maintain Your Equipment
Regularly clean your printer heads and calibrate your heat press to ensure consistent temperature and pressure. This will extend the life of your equipment and maintain print quality.
Common Mistakes to Avoid
Even experienced printers can slip up. Here are some pitfalls to watch out for when working with DTF transfers.
- Using the wrong powder: Too coarse powder can cause a rough texture; always use the recommended mesh size.
- Insufficient white ink: On dark fabrics, a thin white layer will lead to faded colors.
- Overcuring: Leaving the transfer under heat too long can make the adhesive brittle.
- Stretching the fabric during pressing: This can cause the design to crack or distort.
DTF Transfers vs. DTG Printing
Direct-to-garment (DTG) printing is another popular method, but it differs significantly from DTF. DTG prints directly onto the shirt, which can limit its use to cotton, while DTF works on a variety of materials. DTG is better for high-volume production, but DTF offers greater flexibility and lower costs for small orders. Additionally, DTF prints tend to be more durable because the adhesive creates a strong bond with the fabric.
How to Care for DTF-Printed Garments
Proper care ensures that your DTF transfers last for years. Wash the garment inside out in cold water, and avoid using bleach or fabric softeners. Tumble dry on low or hang to dry. If you need to iron, do so on the reverse side to prevent damaging the print.
Frequently Asked Questions
Can DTF transfers be used on dark shirts?
Yes, absolutely. One of the main advantages of DTF is its ability to print white ink as an underbase, which ensures that colors remain vivid on dark fabrics. Just make sure your printer is capable of printing white ink effectively.
How long do DTF transfers last?
With proper care, DTF prints can last as long as the garment itself. They are resistant to cracking and fading, even after numerous washes. The key is to follow the care instructions and use high-quality materials.
Is DTF printing expensive to start?
The initial setup cost can be around $2,000 to $5,000 for a quality DTF printer, heat press, and accessories. However, the low running costs and ability to print on demand make it a profitable investment for small businesses.
Can I use DTF transfers for small orders?
Absolutely, DTF is perfect for small orders because there are no setup fees or minimum quantities. You can print a single item at a time, making it ideal for personalized gifts or custom pieces.
What is the difference between DTF and sublimation?
Sublimation requires polyester or polymer-coated surfaces, and it only works on light-colored materials. DTF, on the other hand, works on both light and dark fabrics, including cotton, making it a more versatile option.
Conclusion
DTF transfers offer a fantastic way to create high-quality, custom apparel with ease. Whether you're just starting or looking to expand your printing capabilities, this method provides a perfect balance of quality, versatility, and cost-effectiveness. By following the guidelines in this guide, you'll be well on your way to producing stunning prints that your customers will love.