
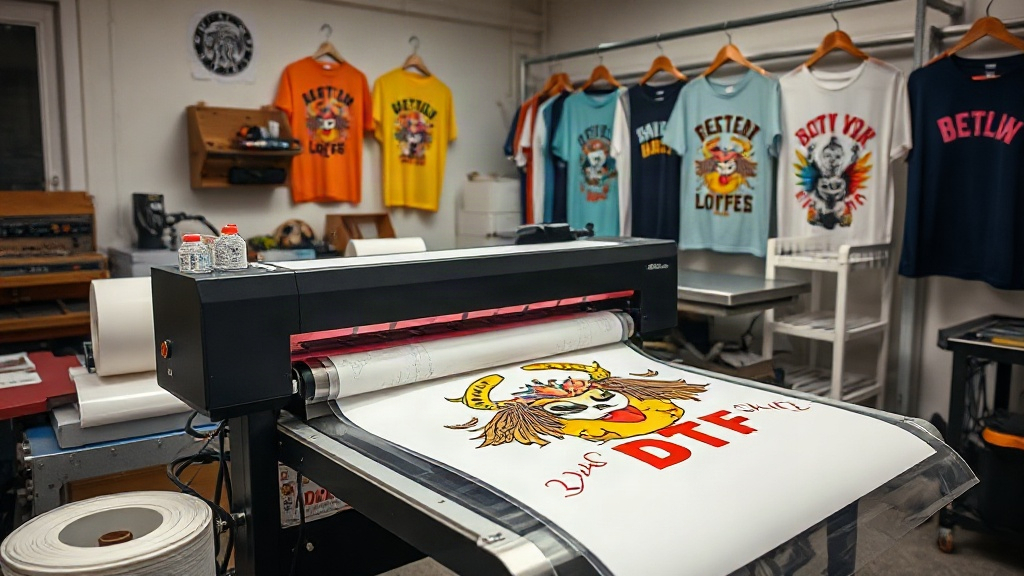
If you've been exploring custom apparel printing, you've likely encountered DTF printing. This method, which stands for Direct to Film, has rapidly gained popularity among hobbyists and professionals alike for its ability to produce vibrant, detailed designs on a wide range of fabrics. Unlike traditional screen printing or vinyl cutting, DTF printing offers a simpler workflow with impressive results, making it an attractive option for small businesses, crafters, and anyone wanting to create personalized clothing. In this guide, I'll walk you through the entire DTF printing process, sharing practical tips and insights I've gathered from hands-on experience.
What Exactly Is DTF Printing?
DTF printing is a digital printing technique where your design is printed onto a special film, coated with a thermoplastic powder, and then transferred to fabric using a heat press. The magic lies in the adhesive powder that melts and bonds the ink to the fabric, creating a durable, stretchable print. This method works on virtually any fabric, including cotton, polyester, blends, and even leather, without the need for pre-treatment. That versatility sets DTF apart from other printing methods that often require specific fabric types.
Why Choose DTF Over Other Methods?
One of the biggest advantages of DTF printing is its ability to handle complex, multi-color designs without the setup costs of screen printing. You can print photographic images, gradients, and fine details with ease. Additionally, DTF transfers are known for their soft feel and excellent wash durability. Unlike heat transfer vinyl (HTV), which can peel over time, a properly applied DTF transfer becomes part of the fabric, moving with it without cracking. For small batches or one-off custom items, DTF is often more cost-effective and faster than other methods.
Step-by-Step DTF Printing Process
To help you get started, here's a detailed breakdown of the DTF printing workflow.
1. Design Preparation
Start with a high-resolution image. Whether you're using vector graphics or raster images, ensure they are at least 300 DPI for crisp prints. DTF printers use CMYK inks plus white, so you'll need to create a white underbase layer for your design. Most RIP software (Raster Image Processor) handles this automatically, but you can also do it manually in programs like Photoshop. Remember that the white layer will be the foundation, so it should be slightly larger than the color layers to prevent color bleeding.
2. Printing onto Film
Load your DTF film into the printer, making sure the coated side is facing the printhead. The printer will lay down the white ink first, followed by the CMYK colors. Some printers allow you to adjust the white ink density; a good starting point is around 80-100% for vibrant colors on dark fabrics. After printing, you'll have a wet design on the film. Handle it carefully to avoid smudging.
3. Applying Adhesive Powder
While the ink is still wet, sprinkle the DTF adhesive powder evenly over the design. You can use a powder shaker for large batches or a simple spoon for small runs. Gently tilt the film to spread the powder, then shake off the excess. The goal is a uniform coating that adheres to the wet ink. Any clumps or bare spots can lead to poor transfer. For best results, work in a well-ventilated area and wear a mask to avoid inhaling fine particles.
4. Curing the Powder
Now you need to melt the powder. Use a heat press or a dedicated curing oven. Set the temperature to around 320°F (160°C) and cure for 2-3 minutes. The powder should turn from white to a clear, glossy finish. If it looks cloudy or patchy, it needs more time. Overcuring can make the transfer brittle, so keep an eye on it. Once cured, the film can be stored for later use or pressed immediately.
5. Heat Pressing onto Fabric
Preheat your heat press to 325°F (163°C) with medium pressure. Place your garment on the lower platen, smooth out any wrinkles, and position the DTF transfer with the design facing up. Cover it with a Teflon sheet or parchment paper. Press for 15-20 seconds. For a softer feel, you can do a second press for 5-10 seconds after peeling the film. Always follow the powder manufacturer's recommendations, as times and temperatures can vary.
6. Peeling and Finishing
After pressing, allow the transfer to cool completely before peeling off the film. You can peel it warm or cold, but cold peel generally gives cleaner edges. Once peeled, you'll see your vibrant design bonded to the fabric. For added durability, especially on stretchy fabrics, do a final press for 5 seconds with a Teflon sheet. That helps the adhesive fully set.
Essential Tips for Flawless DTF Transfers
From my experience, a few key practices can make or break your DTF results.
- Moisture control: Humidity can affect powder adhesion. Store film and powder in a dry place, and consider using a dehumidifier in your workspace.
- Powder amount: Too little powder means the transfer won't stick; too much creates a rough texture. Aim for a thin, even layer.
- Pressure matters: Uneven pressure leads to incomplete transfers. Check your heat press for consistent pressure across the platen.
- Testing: Always do a test press on a scrap fabric to dial in your settings.
- Wash care: Wait 24 hours before washing. Turn garments inside out and use cold water. Avoid fabric softeners and dry on low heat.
Common DTF Printing Mistakes to Avoid
Even seasoned printers run into issues. Here are some pitfalls and how to sidestep them.
- Insufficient curing: If the powder isn't fully melted, the transfer will peel. Increase curing time or temperature.
- Wrong film side: Printing on the wrong side of the film results in a mess. Always check the coated side.
- Overlapping transfers: When layering, press each transfer separately to avoid uneven melting.
- Ignoring fabric type: While DTF works on many fabrics, some heavily textured or coated materials may require special handling.
- Poor storage: Uncured film can absorb moisture; store it in a sealed bag with desiccant.
Frequently Asked Questions About DTF Printing
How long do DTF prints last?
With proper application and care, DTF prints can last as long as the garment itself. They withstand dozens of washes without fading or cracking. Following wash instructions is key.
Can I use DTF on dark and light fabrics?
Absolutely. The white underbase in DTF printing ensures vibrant colors on both dark and light materials. No need for separate transfer types.
What equipment do I need to start DTF printing?
You'll need a DTF printer, DTF film, adhesive powder, a heat press, and a curing oven or heat press for powder melting. A RIP software is also recommended for color management.
Is DTF printing cost-effective for small businesses?
Yes, especially for small batches and complex designs. There's no minimum order, and you only use the ink and film you need. It's a great option for on-demand printing.
How do I prevent DTF transfers from peeling?
Ensure proper curing, adequate pressure during pressing, and correct peeling temperature. Also, wash garments inside out in cold water and avoid bleach.
Taking Your DTF Printing to the Next Level
Once you've mastered the basics, you can experiment with specialty films, glitter powders, and even glow-in-the-dark options. Joining online communities can provide valuable insights and troubleshooting help. Remember, DTF printing is a skill that improves with practice. Don't be discouraged by initial failures; each mistake teaches you something new. With patience and attention to detail, you'll be producing professional-quality custom apparel in no time.