
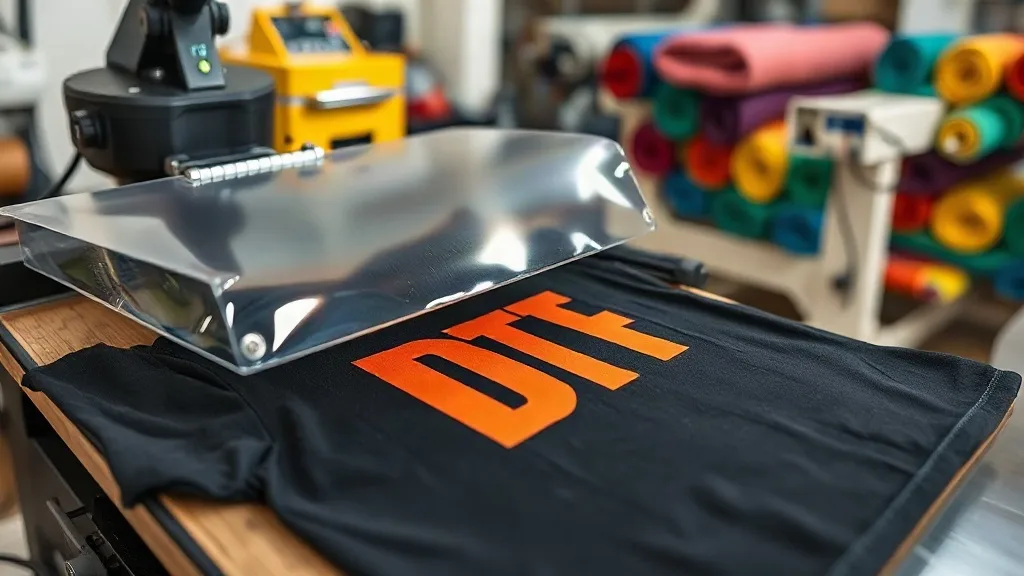
If you've been exploring custom apparel printing, you've likely encountered DTF transfers. This method has quickly become a favorite among hobbyists and professionals alike for its versatility and vibrant results. But what exactly makes DTF stand out, and how can you achieve flawless prints at home or in your shop? In this guide, we'll walk you through the entire process, from understanding the technology to pressing like a pro.
What Are DTF Transfers?
DTF stands for Direct-to-Film. It's a printing technique where your design is printed onto a special film, coated with adhesive powder, and then heat-pressed onto fabric. Unlike DTG (Direct-to-Garment) or screen printing, DTF doesn't require pre-treatment or specialized garments. It works on almost any fabric, including cotton, polyester, blends, and even nylon. The dtf transfers process is relatively new but has gained massive popularity due to its flexibility and durability.
Why Choose DTF Transfers?
There are several reasons why DTF has become a go-to method for many printers. First, it eliminates the need for expensive equipment like screen printers or DTG machines. A standard inkjet printer modified for DTF can produce professional-quality transfers. Second, DTF transfers are incredibly durable. When applied correctly, they withstand multiple washes without fading or cracking. Third, the color vibrancy is exceptional, especially on dark garments where other methods might struggle. Finally, DTF allows for printing on hard-to-print materials like polyester, which is a game-changer for sportswear and uniforms.
Setting Up Your DTF Printer and Materials
To get started with dtf printing, you'll need a few key components: a DTF printer (or a converted inkjet), DTF ink, DTF film, and adhesive powder. While you can buy pre-printed transfers, many enthusiasts prefer to print their own for cost savings and creative control. When choosing a printer, look for one with a white ink channel, as white ink is essential for vibrant colors on dark fabrics. The film should be specifically designed for DTF; using the wrong film can lead to poor adhesion or color bleeding.
File Preparation Tips
Before printing, ensure your design is prepared correctly. Use high-resolution images (300 DPI or higher) and save them in a format that preserves transparency, like PNG. Mirror your design horizontally before printing, as the film will be flipped when pressed. Also, consider the color profile: DTF printers use CMYK plus white, so convert your design to that color mode for accurate colors. If you're new to this, start with simple designs to avoid wasting materials.
The DTF Printing Process Step by Step
Once your file is ready, the printing process is straightforward. Load the DTF film into your printer and print your design. While the ink is still wet, apply adhesive powder evenly over the design. Shake off excess powder and heat-set it using a heat gun or in an oven until the powder melts and becomes glossy. This step is crucial for creating a strong bond with the fabric. After cooling, your transfer is ready to press or store.
Pressing DTF Transfers Like a Pro
Pressing is where the magic happens. Preheat your heat press to around 160°C (320°F). Place your garment on the press and pre-press for a few seconds to remove moisture. Position the transfer on the garment with the design facing up, and cover it with a Teflon sheet or parchment paper. Press with medium pressure for 10-15 seconds. Allow the garment to cool completely before peeling the film. Peeling while hot can cause the design to stretch or tear. For best results, use a cold peel.
Common Pressing Mistakes to Avoid
Even experienced printers make mistakes. Avoid these common pitfalls: pressing at too high a temperature (which can scorch the film), using insufficient pressure (leading to poor adhesion), and peeling too soon. Always test on a scrap piece of fabric first. Also, ensure your heat press is calibrated; an inaccurate temperature gauge can ruin transfers.
Finding DTF Transfers Near Me
If you don't want to invest in a printer, you can order custom transfers from a supplier. Searching for dtf transfers near me will help you find local services that can print and ship transfers to your door. Supporting local businesses also reduces shipping times and allows for faster turnaround on bulk orders. When choosing a supplier, ask about their ink quality, film type, and turnaround time. Reading reviews and requesting samples can save you from disappointment.
Applications and Creative Ideas
DTF transfers open up a world of creative possibilities. Beyond t-shirts, you can apply them to hoodies, tote bags, hats, and even shoes. They're perfect for small businesses creating branded merchandise, sports teams needing numbered jerseys, or individuals making personalized gifts. Because DTF works on diverse fabrics, you can experiment with denim, canvas, and synthetic materials. The only limit is your imagination.
Frequently Asked Questions
How long do DTF transfers last?
With proper application and care, DTF transfers can last as long as the garment itself. They withstand dozens of washes without significant fading or cracking. To prolong life, wash inside out in cold water and avoid ironing directly on the design.
Can I use DTF transfers on dark colors?
Absolutely! DTF uses a white ink base, so colors pop on dark fabrics. In fact, DTF is often preferred for dark garments because it doesn't require a separate white underbase like screen printing.
What fabrics work best with DTF?
DTF adheres well to cotton, polyester, blends, and even nylon. It's not recommended for fabrics with heavy coatings or waterproof finishes, as the adhesive may not bond properly.
Do I need a special printer for DTF?
You can buy a dedicated DTF printer or convert an inkjet printer with DTF ink and film. However, dedicated printers are more reliable and produce consistent results. If you're just starting, consider outsourcing to a service that offers dtf transfers.
How do I store unused DTF transfers?
Store them in a cool, dry place away from direct sunlight. Keep them flat to prevent creasing. Avoid humidity, which can cause the powder to clump. Properly stored transfers remain usable for months.