
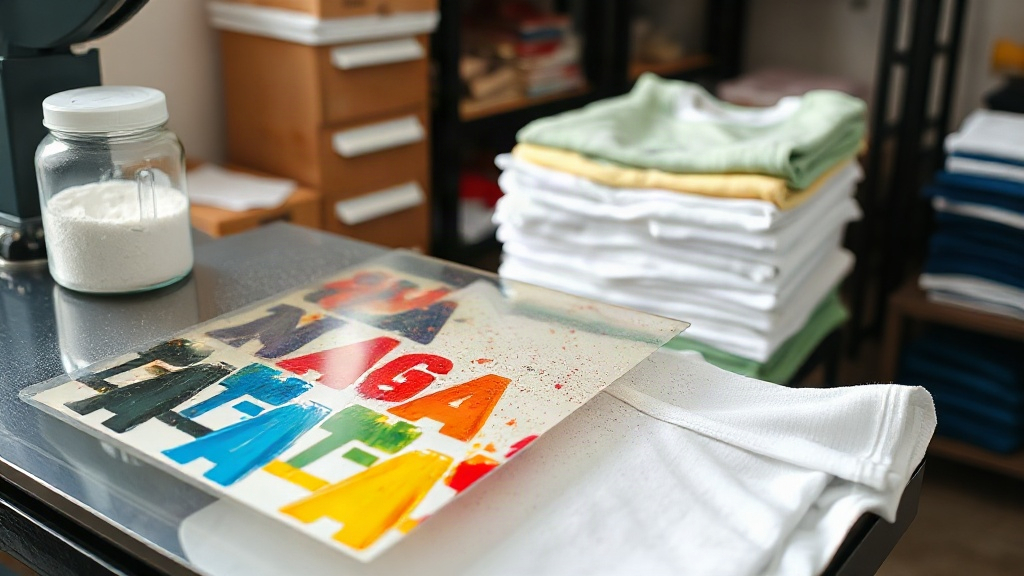
If you've been exploring custom apparel printing, you've likely encountered DTF Transfers. This technology is rapidly gaining popularity for its versatility and vibrant results. Unlike traditional methods, DTF transfers allow you to print full-color designs on a wide range of fabrics without the need for weeding or specialized equipment. In this guide, I'll walk you through the entire process, share insider tips, and help you avoid common pitfalls. Whether you're a hobbyist or a small business owner, mastering DTF Transfers can elevate your creations.
What Are DTF Transfers?
DTF stands for Direct to Film. It's a printing method where your design is printed onto a special film using pigment-based inks, then coated with a hot-melt adhesive powder. The film is then cured and can be stored until you're ready to press it onto a garment. When heat and pressure are applied, the adhesive melts, bonding the ink to the fabric. This process works on cotton, polyester, blends, and even some nylons, making it incredibly versatile. The key advantage is that you can print intricate, multi-color designs without the constraints of screen printing or the limitations of vinyl cutting.
Why Choose DTF Transfers Over Other Methods?
There are several reasons why DTF Transfers have become a go-to for many printers. First, there's no weeding required. If you've ever spent hours weeding vinyl, you know how tedious it can be. With DTF, you simply print, powder, cure, and press. Second, the color vibrancy is outstanding. The white ink layer allows designs to pop on both light and dark garments. Third, the durability is impressive when applied correctly; prints withstand repeated washing without fading or cracking. Fourth, the cost per print is relatively low, especially for short runs, making it accessible for small businesses and individuals.
Comparing DTF to DTG and Screen Printing
Direct to Garment (DTG) printing is another popular method, but it requires pre-treatment and works best on 100% cotton. DTF, on the other hand, adheres to a wider range of materials and doesn't need pre-treatment. Screen printing is cost-effective for large orders but involves setup costs and is impractical for complex designs with many colors. DTF bridges the gap, offering detailed prints with minimal setup, ideal for on-demand production.
Step-by-Step Guide to Using DTF Transfers
Getting started with DTF Transfers is straightforward if you follow the right steps. Here's a detailed walkthrough to ensure your prints come out perfect every time.
1. Design Preparation
Start with a high-resolution image (300 DPI or higher). Vector files are ideal, but raster images work if they're clean. Remember that DTF prints have a white underbase, so any transparent areas in your design will show the garment color. If you want white in your design, it must be part of the artwork. Also, consider the size: typical DTF transfers can be up to 13 inches wide by 19 inches long, but check your printer's specs.
2. Printing the Transfer
Load the DTF film into your printer, ensuring it's the correct side (usually the matte side). Print your design using DTF-specific ink. The printer will lay down a white layer first, followed by the color layers. This is crucial for opacity on dark fabrics.
3. Applying Adhesive Powder
While the ink is still wet, sprinkle hot-melt adhesive powder evenly over the printed area. Shake off excess powder gently. You can use a powder shaker for better control. The powder should stick only to the wet ink.
4. Curing the Transfer
Place the film in a curing oven or under a heat press at around 320°F (160°C) for 2-3 minutes. The powder will melt and become clear, indicating it's cured. Alternatively, you can use a heat press with light pressure for about 30 seconds, but be careful not to over-cure, as it can make the transfer brittle.
5. Pressing onto the Garment
Set your heat press to 320°F (160°C) with medium pressure. Pre-press the garment for a few seconds to remove moisture. Place the transfer on the garment with the film side up. Press for 15-20 seconds. For best results, use a Teflon sheet or parchment paper over the transfer. After pressing, let it cool completely before peeling the film. Peel cold for a matte finish or hot for a glossy look, depending on the film type.
Common Mistakes and How to Avoid Them
Even experienced printers can run into issues. Here are some common pitfalls and their solutions:
- Insufficient pressure: If the transfer doesn't adhere well, increase pressure. The adhesive needs to penetrate the fabric fibers.
- Wrong temperature: Too low, and the adhesive won't melt; too high, and the film may scorch. Always use a heat gun or infrared thermometer to verify.
- Peeling too soon: Wait until the transfer is completely cool before peeling. Peeling hot can cause the design to stretch or lift.
- Poor powder application: Uneven powder leads to patchy adhesion. Ensure even coverage and shake off excess thoroughly.
- Not pre-pressing: Moisture in the fabric can cause steam pockets, leading to poor adhesion. Always pre-press for 5-10 seconds.
Tips for Long-Lasting Prints
To ensure your DTF Transfers withstand the test of time, follow these care instructions:
- Wash the garment inside out in cold water.
- Avoid using bleach or fabric softeners.
- Tumble dry on low heat or hang dry.
- Iron on the reverse side, never directly on the print.
- Wait at least 24 hours after pressing before washing.
These simple steps can extend the life of your prints significantly.
Choosing the Right DTF Film and Supplies
Not all DTF films are created equal. There are two main types: hot peel and cold peel. Hot peel films allow you to remove the film immediately after pressing while it's still hot, which speeds up production. Cold peel films require the transfer to cool completely before peeling, often resulting in a smoother finish. Experiment with both to see which suits your workflow. Additionally, invest in quality DTF ink and adhesive powder from reputable suppliers. Cheap supplies can lead to clogs, poor adhesion, and faded prints.
Frequently Asked Questions About DTF Transfers
Can I use DTF transfers on 100% polyester?
Yes, DTF transfers work well on polyester. However, polyester is heat-sensitive, so you may need to lower the pressing temperature to around 280°F (140°C) to avoid scorching or dye migration. Always test on a scrap piece first.
How do I store unused DTF transfers?
Store them in a cool, dry place away from direct sunlight. Keep them in a sealed bag or container to prevent dust and moisture from affecting the adhesive. Properly stored transfers can last for several months.
What's the best way to remove a DTF transfer if I make a mistake?
If you need to remove a transfer, reheat it with a heat press or iron for a few seconds, then peel it off while hot. Use a tweezers or scraper to help. Sometimes residue remains; you can clean it with a specialized adhesive remover or by pressing a cotton cloth over it with some heat.
Do I need a special printer for DTF transfers?
You can convert an existing inkjet printer to use DTF inks, but it's essential to use a printer designed for DTF or one that can handle the viscosity of DTF inks. Many people start with a dedicated DTF printer to avoid clogs and ensure consistent results.
How durable are DTF transfers compared to screen printing?
When applied correctly, DTF transfers are highly durable and can withstand dozens of washes without significant fading. They may not be as durable as screen printing for heavy-duty industrial use, but for everyday wear, they perform excellently.